SHURflo
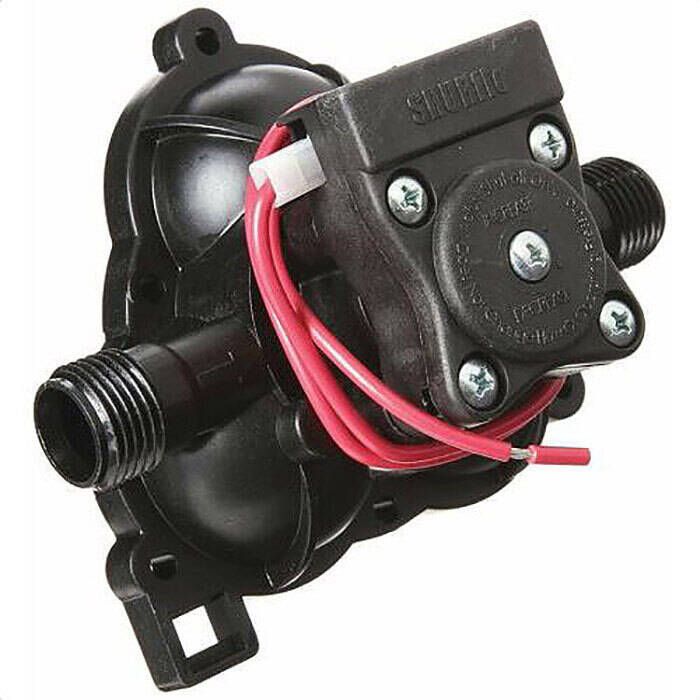
SHURflo Complete Sealed Pressure Switch and Upper Housing - 94-231-10
Item: #882905 | Part Number: 94-231-10$121.84

Description
The Shurflo Complete Sealed Pressure Switch and Upper Housing is an essential component for water pumps, providing reliable pressure control in various applications. Package Includes: Upper housing and switch (3) Screws (3) Bolts with nuts (4) Heat shrink connectors Strain relief Compatibility: Sealed Premium Flow 2088-574-534 Standard Blaster 12VDC 2088-732-244...

SHURflo Complete Sealed Pressure Switch and Upper Housing - 94-231-10 Item # 882905

Description
The Shurflo Complete Sealed Pressure Switch and Upper Housing is an essential component for water pumps, providing reliable pressure control in various applications.
Package Includes:
- Upper housing and switch
- (3) Screws
- (3) Bolts with nuts
- (4) Heat shrink connectors
- Strain relief
Compatibility:
- Sealed Premium Flow 2088-574-534
- Standard Blaster 12VDC 2088-732-244
- Standard Blaster 24VDC 2088-752-244
- ProBlaster 2088-732-234 or 2088-534-944
- 24V Standard pump 2088-743-244
- Deluxe Pump 2088-733-244
- 12V Standard pump 2088-723-244
- Premium Pump 2088-712-244
- Pro Baitmaster 12 VDC 2088-721-234
- Pro Baitmaster 24 VDC 2088-762-234
Replacement Instructions:
- Disassembly:
- Before starting work, make certain the power to pump is off. Release liquid pressure on the outlet line of pump before performing maintenance. You may find it easier to remove the pump and work on a bench
- Disconnect lead wires (A) from pressure switch (B). Note which wire goes to each lead on the switch. On pumps with sealed marine switch, wire from motor to switch must be cut
- If equipped, remove the strain relief plug (H) by pushing out on plug from the motor side with a flat blade screwdriver. Pull the lead wires through the strainer relief
- Remove the three upper housing screws (C). Note: Do not remove the pressure switch screws
- Remove the three long screws (D). These screws hold the pump assembly to the motor. Note: If you work carefully, the lower housing will not separate from the motor assembly
- Remove the upper housing (E)
- Remove the valve assembly (F) from the upper housing
- Assembly:
- Before starting work, make certain the power to pump is off. Release liquid pressure on the outlet line of pump before performing maintenance. You may find it easier to remove the pump and work on a bench
- Locate the valve assembly (F) flush with the diaphragm (G). (Align groove in diaphragm with groove in valve assembly.)
- Place the new upper housing (E) on top of the valve assembly (F)
- Tighten the three outer screws (C)
- Put the three long screws (D) in place and screw down until each touches, then tighten each screw securely
- Attach the lead wires (A) onto switch. On pumps with sealed marine switch, trim red motor wire 5/16" and follow instructions with butt splice connector. Heat connector to seal wire. Do not use open flame in a bilge area or any other flammable environment
- If equipped, place strain relief (H) in original position

